
Modern motherboards include a variety of ports and buttons on their rear I/O panel, but one feature is often overlooked: the Clear CMOS button. Many PC users never touch it, while others aren’t even aware it exists. Despite its simple appearance, this small button can be incredibly useful when troubleshooting boot problems, BIOS errors, or failed overclocking attempts.
In this guide, you’ll learn what the Clear CMOS button does, when you should use it, and why it can save you from unnecessary hardware troubleshooting.
What Is the Clear CMOS Button?
The Clear CMOS button is a hardware feature found on many mid-range and high-end motherboards. Pressing it resets your motherboard’s BIOS or UEFI settings back to their factory defaults.
It doesn’t erase your operating system, personal files, or installed applications. Instead, it only removes customized firmware settings stored by the motherboard.
After resetting, your PC will load the default BIOS configuration the next time it starts.
What Does CMOS Mean?
CMOS stands for Complementary Metal-Oxide Semiconductor.
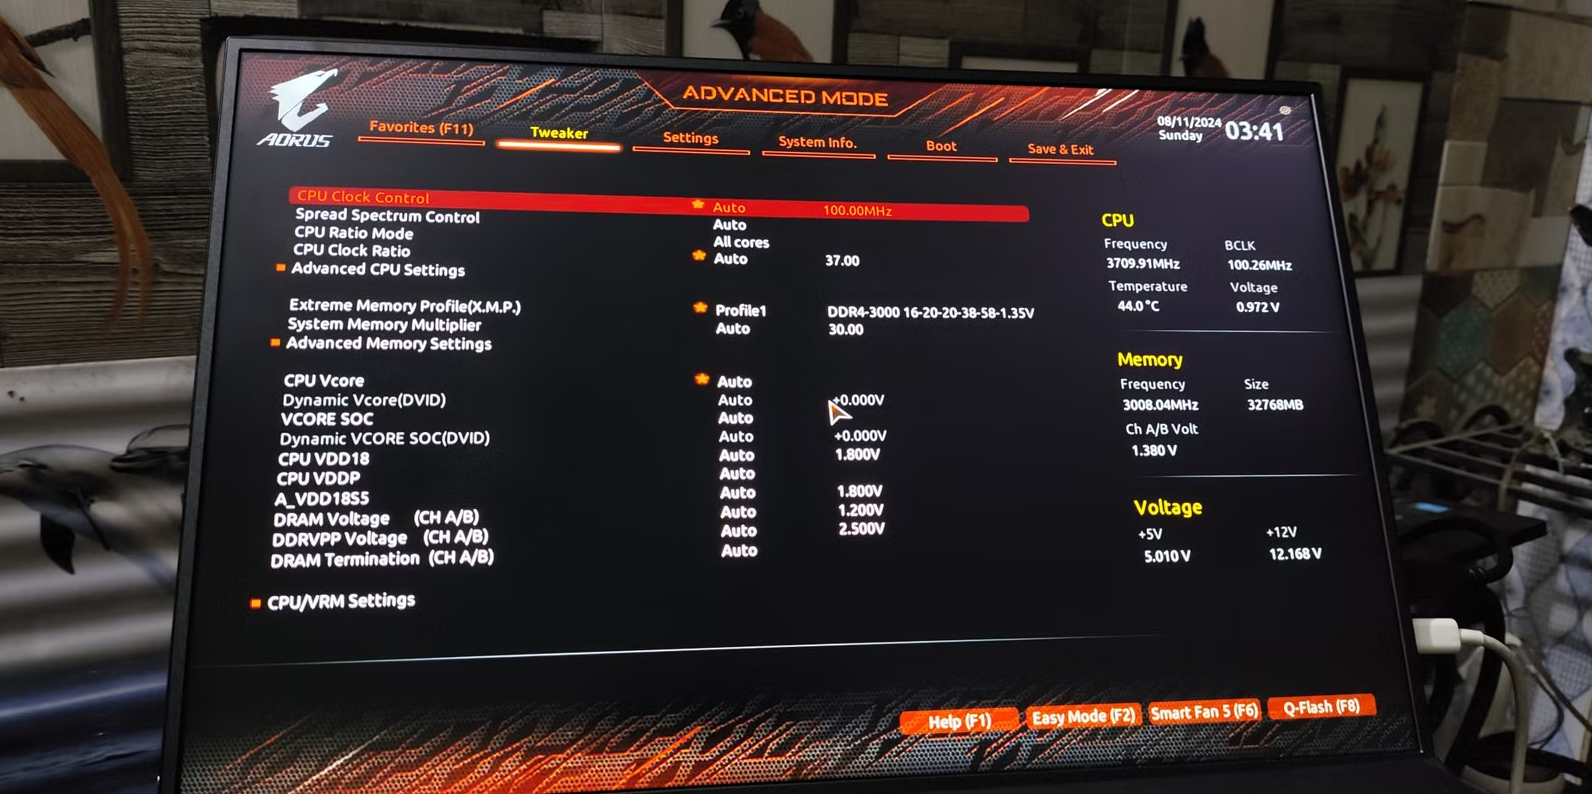
In the context of a motherboard, CMOS refers to the memory area that stores BIOS configuration settings, such as:
- Boot order
- CPU settings
- Memory configuration
- Fan profiles
- Overclocking values
- Voltage adjustments
- Security settings
These settings remain saved even when the computer is powered off, thanks to the motherboard’s CMOS battery.
When Should You Use the Clear CMOS Button?
Most users rarely need this feature, but there are several situations where resetting the BIOS can solve startup issues.
Common examples include:
- The PC won’t boot after changing BIOS settings.
- An unstable overclock prevents the system from starting.
- Memory configuration changes cause repeated crashes.
- Incorrect BIOS settings stop hardware from working properly.
- The system becomes stuck in a boot loop.
- Hardware upgrades cause compatibility issues.
In many of these cases, clearing CMOS restores stable default settings without requiring additional repairs.
How the Clear CMOS Button Works
When the button is pressed, the motherboard deletes the current BIOS configuration and reloads its original default settings.
This process removes custom adjustments you’ve made but leaves the BIOS or UEFI firmware itself unchanged.
After restarting the computer, you’ll usually need to reconfigure settings such as:
- Boot priority
- XMP or EXPO memory profiles
- Fan curves
- Virtualization settings
- Secure Boot options
- Date and time
Any custom tuning performed previously will need to be applied again.
Does It Delete Windows?
No.
One of the biggest misconceptions is that pressing the Clear CMOS button removes Windows or deletes personal files.
It does neither.
Your operating system, installed software, games, and documents remain untouched. Only motherboard firmware settings are reset.
Is It Safe to Use?
Yes, provided it’s used correctly.
The Clear CMOS button is designed specifically for troubleshooting BIOS-related problems. It won’t damage the motherboard or other components when used according to the manufacturer’s instructions.
However, because it restores factory settings, you’ll need to reapply any custom BIOS configuration afterward.
Clear CMOS Button vs. Removing the Battery
Older motherboards often required users to remove the CMOS battery or move a jumper to reset BIOS settings.
The dedicated Clear CMOS button performs the same task much more conveniently.
Instead of opening the computer case, you simply press the button while following the motherboard manufacturer’s recommended procedure.
This makes troubleshooting much faster, especially for enthusiasts who frequently adjust BIOS settings.
Common Situations Where It Helps
The Clear CMOS button is especially useful after:
- Failed CPU overclocking
- Incorrect RAM timing adjustments
- BIOS configuration mistakes
- Hardware compatibility problems
- Boot failures after installing new components
- Unsuccessful firmware experiments
In many cases, a quick BIOS reset allows the computer to start normally again.
Tips Before Resetting CMOS
Before using the Clear CMOS button, keep these recommendations in mind:
- Save important BIOS settings if possible.
- Record custom fan profiles.
- Note your boot drive configuration.
- Remember any manually configured CPU or memory settings.
- Read your motherboard manual for the correct reset procedure.
Taking a few minutes to document your configuration can save time afterward.
Prevent Future BIOS Problems
To reduce the need for resetting CMOS:
- Avoid changing settings you don’t understand.
- Test overclocking gradually.
- Keep BIOS firmware updated when appropriate.
- Use stable memory profiles.
- Make one configuration change at a time.
These habits help maintain system stability and make troubleshooting easier.